Shaped Cake Pops: Delightfully Fun and Easy
Introduction
Looking for a sweet treat that wows guests and sparks conversation? shaped cake pops deliver both visual appeal and delicious flavor. This guide walks you through every step, from mixing the batter to mastering the perfect coating. Whether you’re planning a birthday, bridal shower, or casual get‑together, these playful desserts fit any occasion.
Beyond the wow factor, shaped cake pops are surprisingly simple to create with pantry staples and a few specialty items. With clear instructions, helpful tips, and troubleshooting advice, you’ll finish the recipe feeling confident and ready to experiment with new shapes and colors. The versatility of shaped cake pops means you can tailor them to any theme, season, or personal style.
These shaped cake pops are perfect for party favors, dessert tables, or a fun activity with kids, making every celebration a little sweeter.
Ingredients List
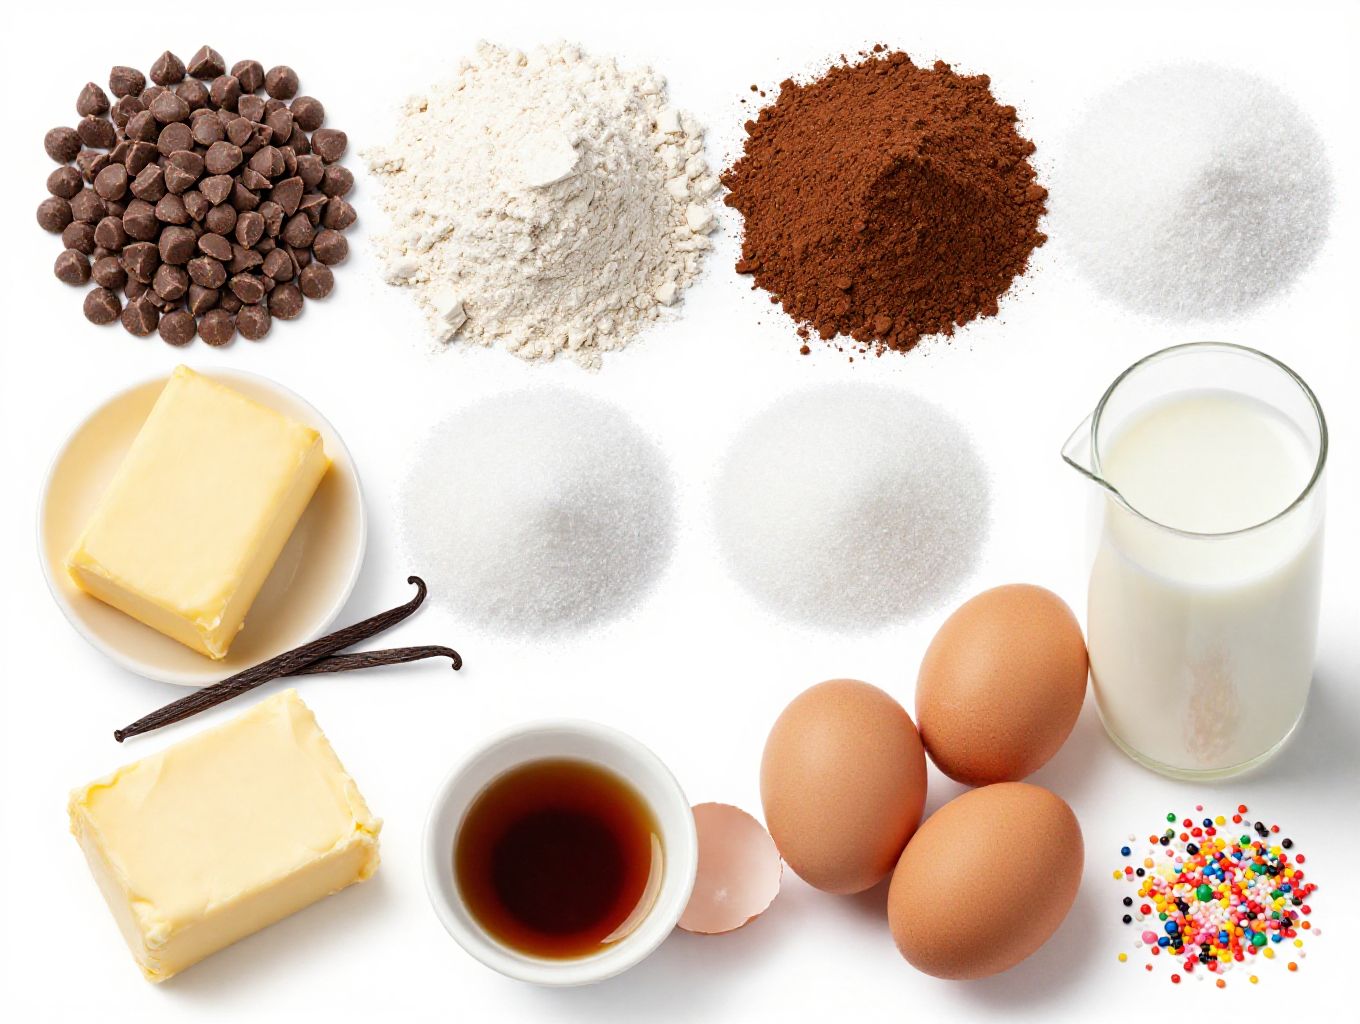
- 1 cup semi‑sweet chocolate chips – melt for a rich base, substitute dark chocolate for less sugar.
- 2 2/3 cups all‑purpose flour – provides structure, you can use a gluten‑free blend if needed.
- 2 tablespoons unsweetened cocoa powder – deepens chocolate flavor, optional for a lighter taste.
- 1 teaspoon baking powder – helps the cake rise, ensure it’s fresh for best results.
- 1/4 teaspoon salt – balances sweetness, kosher salt works well.
- 1 cup granulated sugar – sweetens the batter, coconut sugar is a natural alternative.
- 2/3 cup salted butter (softened) – adds moisture, unsalted butter can be used with a pinch of extra salt.
- 5 small eggs – bind ingredients, you may replace each with ¼ cup unsweetened applesauce for a lower‑fat version.
- 1 teaspoon vanilla extract – enhances flavor, almond extract works for a nutty twist.
- 1/3 cup milk (room temperature) – creates a smooth batter, dairy‑free milk works fine.
- 8 ounces cream cheese (softened) – gives a creamy texture, low‑fat cream cheese reduces calories.
- 24 ounces candy melts (in colors of your choice) – forms the coating, you can melt chocolate chips as a substitute.
- Sprinkles (for decoration, optional) – add sparkle, try crushed nuts for a crunchy finish.
These ingredients come together to create the perfect base for shaped cake pops that hold their shape and taste amazing.
Timing
Prep Time: 2 hours
Cook Time: 55 min
Total Time: 2h 55min
Plan ahead so you have enough time to chill the cake balls, which is essential for successful shaped cake pops.
Step-by-Step Instructions
Step 1: Prepare the Pan
Preheat oven to 350°F (177°C). Spray a 9‑inch round cake pan with baking spray. This prevents sticking and ensures an even bake, setting the stage for perfect shaped cake pops.
Step 2: Melt Chocolate
Place semi‑sweet chocolate chips in a microwave‑safe bowl. Heat in 30‑second bursts, stirring until smooth. Set aside to cool slightly; the melted chocolate will add richness to your shaped cake pops.
Step 3: Combine Dry Ingredients
In a bowl, whisk together flour, cocoa powder, baking powder, and salt. This distributes leavening evenly throughout the batter, a key step for fluffy shaped cake pops.
Step 4: Cream Butter and Sugars
In a mixing bowl, cream softened butter, granulated sugar, and brown sugar until fluffy. This incorporates air for a light crumb, which helps the final shaped cake pops hold their form.
Step 5: Add Eggs and Vanilla
Slowly mix in the eggs and vanilla extract. The batter will look glossy and thick, ready to become the base for your shaped cake pops.
Step 6: Incorporate Dry Ingredients
Add the dry mixture to the butter blend. Mix until just combined to avoid over‑working the batter, which could make the shaped cake pops dense.
Step 7: Fold in Chocolate and Milk
Fold in the cooled melted chocolate and milk. The batter should be smooth and glossy, giving the shaped cake pops a deep chocolate flavor.
Step 8: Bake the Cake
Pour batter into the prepared pan. Bake for 45–55 minutes, or until a toothpick comes out clean. Let the cake cool completely; a fully cooled cake is easier to crumble for shaped cake pops.
Step 9: Crumble and Mix Cream Cheese
Break the cooled cake into fine crumbs in a large bowl. Mix in softened cream cheese until well combined. This creates a pliable base for shaping the cake balls that become shaped cake pops.
Step 10: Form and Chill Cake Balls
Roll the mixture into uniform balls, about the size of a walnut. Place them on a tray and chill in the fridge for at least 2 hours. Chilling is crucial for firm shaped cake pops.
Step 11: Prepare Candy Coating
Melt candy melts in a microwave or double boiler, stirring until smooth. Dip the end of each cake pop stick into the coating, then insert into a chilled cake ball. This creates a strong bond for shaped cake pops.
Step 12: Dip and Decorate
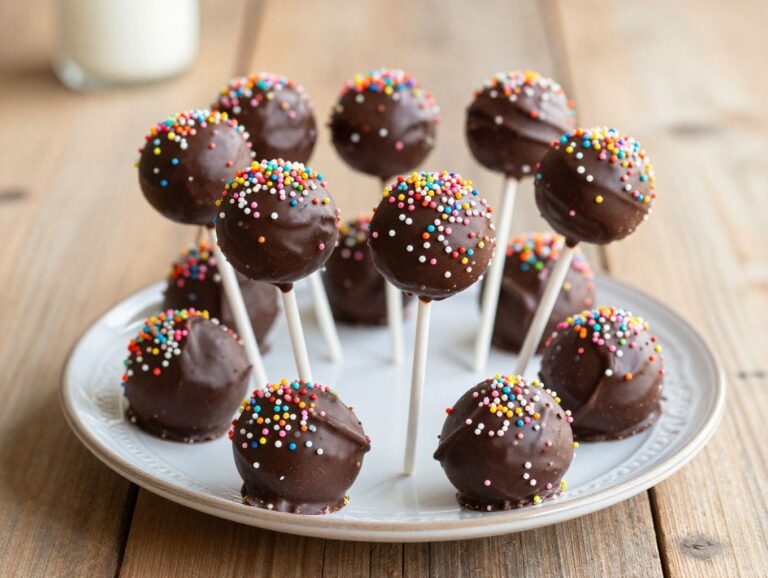
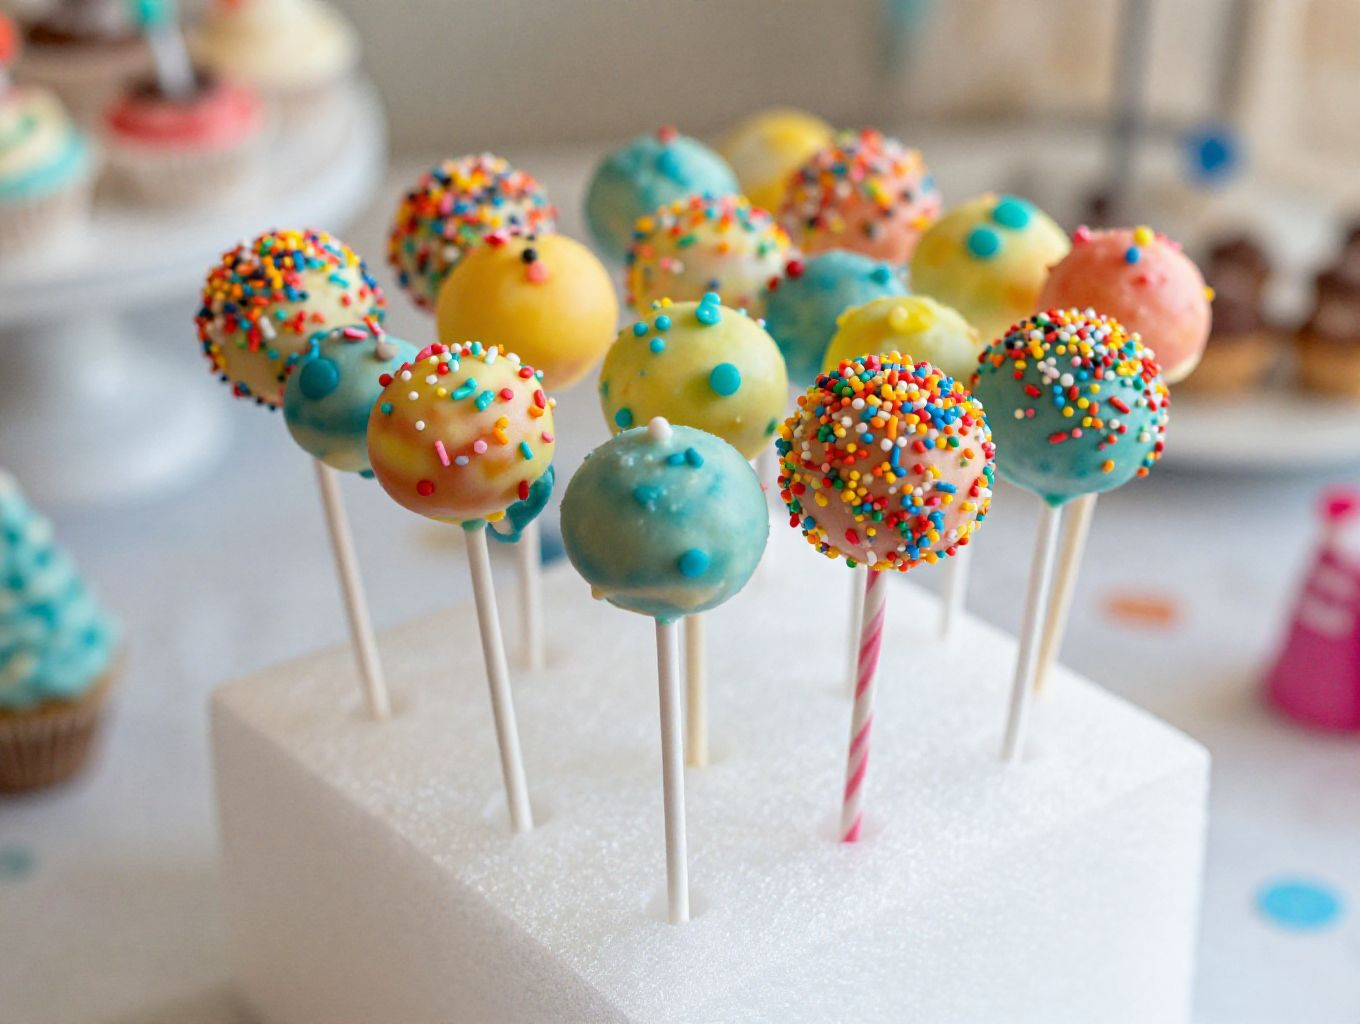
Submerge each cake pop into the molten candy melt, turning to coat evenly. Gently tap to remove excess, then add sprinkles or other decorations. Return to the fridge to set, giving your shaped cake pops a glossy finish.
Step 13: Serve and Enjoy
Once the coating is firm, arrange the shaped cake pops on a platter. Serve at room temperature for optimal texture and enjoy the burst of flavor in every bite.
Nutritional Information
All values are per serving (1 cake pop).
- Calories: 457
- Carbohydrates: 51.98 g
- Protein: 10.09 g
- Fat: 24.46 g
- Saturated Fat: 10.78 g
- Trans Fat: 0.28 g
- Cholesterol: 30 mg
- Sodium: 230 mg
- Sugar: 11.36 g
- Unsaturated Fat: 13.40 g
Nutrition Information Source: Nutrition values are calculated per serving using data from USDA FoodData Central, the official U.S. government database for food composition. Values are approximate and may vary based on specific brands and preparation methods.
Even though these shaped cake pops are indulgent, you can still enjoy them as part of a balanced diet.
Healthier Alternatives for the Recipe
- Swap semi‑sweet chocolate chips with dark chocolate (70% cacao) to reduce sugar.
- Replace all‑purpose flour with whole‑wheat flour for added fiber.
- Use reduced‑fat cream cheese to lower saturated fat.
- Choose sugar‑free candy melts or melt white chocolate with a touch of stevia.
- Add finely chopped nuts to the cake mixture for healthy fats and crunch.
These tweaks let you enjoy shaped cake pops that are a bit lighter without sacrificing taste.
Serving Suggestions
- Arrange pops on a decorative stand for a party centerpiece.
- Pair with a cup of hot cocoa or a glass of milk for a classic sweet combo.
- Offer a variety of colors and sprinkles to match a themed celebration.
- Serve alongside other desserts like cupcakes or brownies for a full sweets spread.
- Use themed molds (hearts, stars, letters) to create personalized shapes.
These serving ideas highlight how versatile shaped cake pops can be for any gathering.
Common Mistakes to Avoid
- Over‑mixing the batter – this can make the cake dense.
- Skipping the chill step – warm balls will break apart during dipping.
- Using candy melts that are too cool – they won’t coat evenly.
- Inserting sticks after the coating has set – the stick may break the shell.
- Leaving pops out of the fridge too long – they can become sticky.
Avoiding these pitfalls ensures your shaped cake pops look and taste their best.
Storing Tips for the Recipe
- Store finished pops in an airtight container in the refrigerator for up to 5 days.
- Place a sheet of parchment between layers to prevent sticking.
- For longer storage, freeze pops in a single layer, then transfer to a freezer bag; thaw in the fridge before serving.
- Keep the coating firm by avoiding exposure to warm, humid environments.
- Re‑dip any pops that lose their shine by briefly melting fresh candy melts.
Proper storage keeps your shaped cake pops fresh and ready for the next celebration.
Conclusion
With this step‑by‑step guide, creating perfectly shaped cake pops is within reach for bakers of any skill level. The combination of a moist chocolate cake base, creamy cheese filling, and vibrant candy coating makes these sweets a crowd‑pleaser every time. The versatility of shaped cake pops lets you match any theme, color palette, or flavor profile you desire.
Ready to impress at your next gathering? Dive into the recipe, share your results, and keep exploring new variations of these delightful desserts. Your next batch of shaped cake pops could become the highlight of any party.
Shaped Cake Pops
Ingredients
Method
- Preheat oven to 350°F (177°C). Spray a 9-inch round cake pan with baking spray.
- In a microwave-safe bowl, melt the semi-sweet chocolate chips, stirring until smooth.
- In a bowl, whisk together the flour, cocoa powder, baking powder, and salt.
- In a mixing bowl, cream together the softened butter, granulated sugar, and brown sugar until fluffy.
- Slowly mix in the eggs and vanilla. Add dry ingredients and mix until just combined.
- Fold in the cooled melted chocolate and milk. Pour the batter into the prepared cake pan.
- Bake for 45–55 minutes. Let cool and then crumble the cake into a bowl.
- Mix in the softened cream cheese until well combined.
- Roll cake mixture into balls and chill in the fridge for at least 2 hours.
- Melt candy melts and dip the end of cake pop sticks into the coating before inserting them into the cake balls.
- Dip the cake pops in molten candy melts to cover completely, and decorate with sprinkles. Let set in the fridge.
- Enjoy your beautifully shaped cake pops!
Notes
FAQs
Can I use a different type of cheese? Yes, substitute Greek yogurt or mascarpone for a tangier flavor and similar texture.
How long can I keep the cake pop sticks in the coating before they set? Insert sticks right after dipping; they will hold for up to 30 minutes before the coating firms.
Do I need a special mold for shaping the pops? No, you can hand‑shape the balls and use a small knife to carve simple designs before coating.
What are the origins of the cake pop? The treat began as a creative twist on traditional cake crumbs, gaining popularity in the early 2000s. Learn more about the origins of the cake pop.