Sugar Cookie Icing That Hardens Perfectly
Introduction
Do you dream of sugar cookie icing that glistens, sets, and stays crisp for weeks? This sugar cookie icing delivers a glossy finish that hardens perfectly, letting your decorations stay sharp. It uses simple pantry staples, so you can whip it up in minutes and get professional results at home. Whether you are a beginner or a seasoned baker, this recipe will give your cookies a polished, show‑stopping look. The secret to great sugar cookie icing is balancing moisture and sugar so the glaze sets like a thin shell.
Ready to transform plain cookies into edible art? Follow the step‑by‑step guide below and discover why this icing is a favorite among bakers. For more inspiration, check out our sugar cookie icing collection, which showcases dozens of creative designs. Many bakers also call it icing for sugar cookies because of its reliable hardening properties.
Ingredients
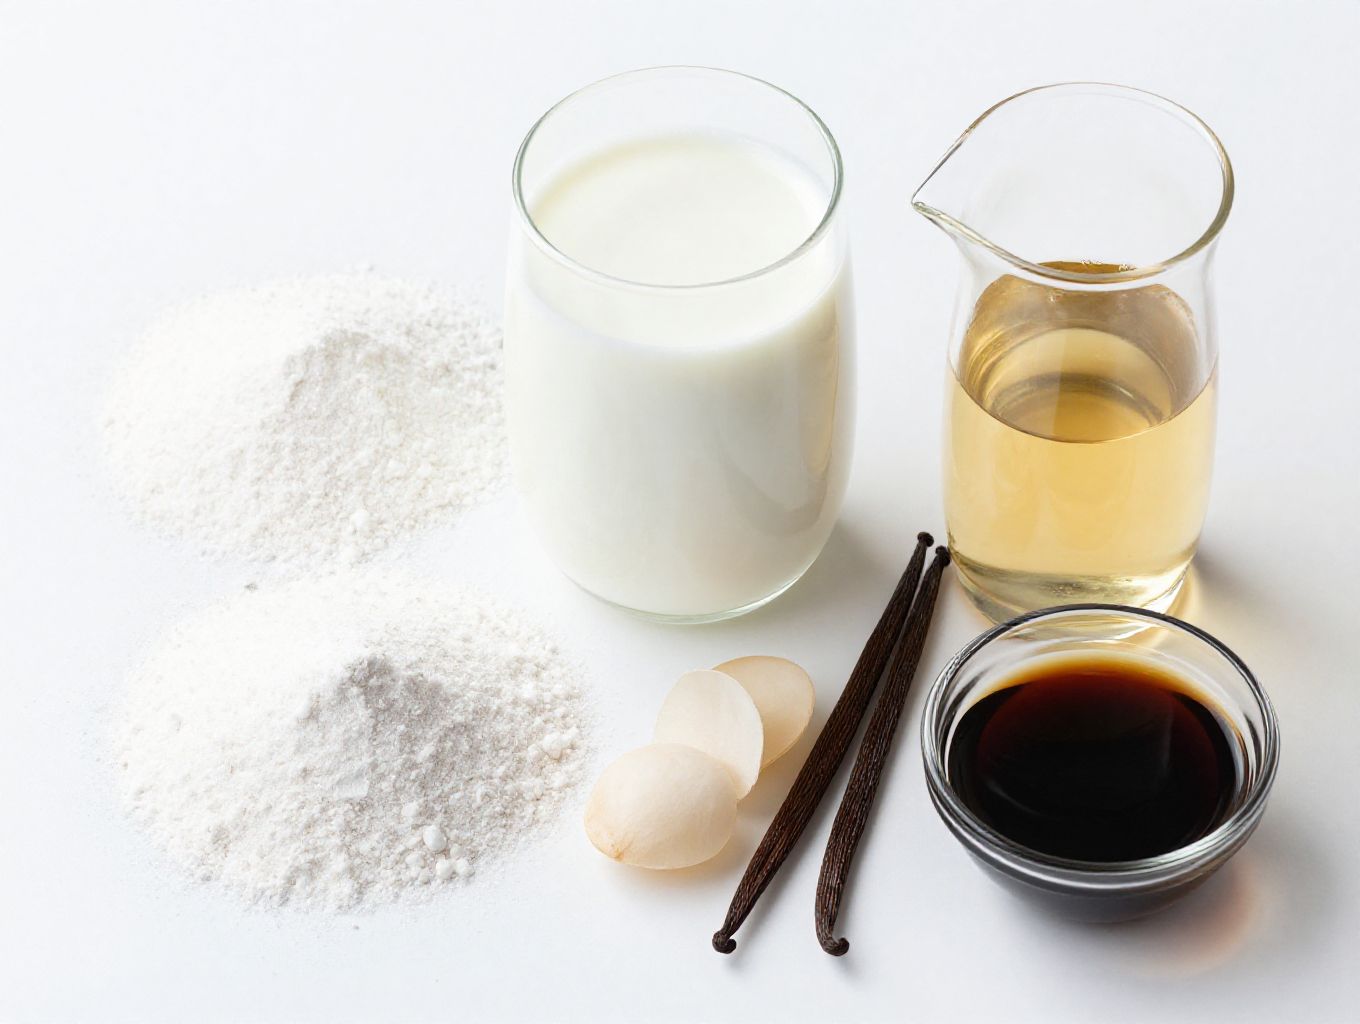
- 4 cups powdered sugar – provides the sweet base and the structure needed for the icing to harden.
- 5 tablespoons milk – adds moisture; you can substitute with almond milk for a dairy‑free version.
- 4 teaspoons light corn syrup – gives the icing a smooth texture and helps it set without cracking.
- 1 teaspoon pure vanilla extract – infuses a classic flavor that pairs beautifully with any cookie.
- optional: gel or liquid food coloring – choose gel colors for vibrant shades without thinning the mixture.
These ingredients work together to create a firm yet glossy sugar cookie icing. If you need a lower‑fat version, replace the milk with a skim or plant‑based alternative and keep the ratios the same.
Timing
Prep Time: 10 min
Cook Time: 0 min
Total Time: 10 min
Even with a short prep, the sugar cookie icing needs a full 20‑24 hours to harden fully, giving you a reliable window for decoration.
Step 1: Combine the Dry Ingredients
In a large mixing bowl, whisk together the powdered sugar, milk, corn syrup, and vanilla extract. The mixture should become thick and glossy. This creates a smooth base that will later harden into a firm shell.
Step 2: Adjust Consistency for Outlines
Test the thickness by lifting the whisk; the icing should ribbon off in about 3‑4 seconds. If it’s too stiff, add an extra teaspoon of milk at a time. Stop when the icing flows slowly but holds shape for piping outlines.
Step 3: Add Color and Reserve Outline Portion
If you want colored icing, mix in gel or liquid food coloring until the desired hue appears. Set aside roughly one‑third of the mixture for the outline stage. This reserved portion ensures you have a firmer texture for clean edges.
Step 4: Create Flood Icing
To the remaining two‑thirds, add more milk—half a teaspoon to one teaspoon at a time. Stir until the icing flows easily off the whisk. This thinner flood icing will spread smoothly over the cookie surface.
Step 5: Pipe and Flood the Cookies
Fill a piping bag with the outline icing and draw a thin line around each cookie. Switch to the flood icing and let it flow into the outlined area. If gaps appear, use a toothpick to smooth them out.
Step 6: Let the Icing Harden
Place the decorated cookies in a single layer on a flat surface. Allow them to harden fully for 20‑24 hours before stacking or storing. The extended drying time ensures the sugar cookie icing becomes crisp and durable.
Nutritional Information
Each serving (1 serving) contains:
- Calories: 74
- Carbohydrates: 18.24 g
- Protein: 0.47 g
- Fat: 0.08 g
- Saturated Fat: 0.05 g
- Trans Fat: 0.00 g
- Cholesterol: 0 mg
- Sodium: 8 mg
- Sugar: 17.88 g
- Unsaturated Fat: 0.03 g
Nutrition Information Source: Nutrition values are calculated per serving using data from USDA FoodData Central, the official U.S. government database for food composition. Values are approximate and may vary based on specific brands and preparation methods.
Healthier Alternatives for the Recipe
Swap regular milk for unsweetened almond or oat milk to reduce dairy fat. Use a sugar‑free powdered sweetener such as erythritol for a lower‑calorie version, keeping the same volume as powdered sugar. Replace corn syrup with a small amount of agave nectar; it still provides gloss without the high fructose content. Adding a pinch of sea salt can enhance flavor while balancing sweetness. You can also try using coconut sugar instead of regular sugar for a subtle caramel note in the sugar cookie icing.
Serving Suggestions
Pair these iced cookies with a glass of cold milk for a classic snack. For a festive touch, arrange them on a decorative platter with fresh berries and edible flowers. Use the icing as a base for themed designs—think holiday symbols, birthday initials, or seasonal patterns. The hard‑set finish makes them ideal for gift boxes and party favors. You can also drizzle the sugar cookie icing over cupcakes for an elegant look.
Common Mistakes to Avoid
- Adding too much milk early on; this creates a runny flood that won’t harden.
- Skipping the reserve of outline icing; without it, outlines may appear thin or fade.
- Not allowing enough drying time; cookies will stick together if stacked before the icing sets.
- Using liquid food coloring in excess; it thins the mixture and prevents proper hardening.
- Applying icing on warm cookies; the heat can melt the sugar cookie icing before it sets.
Storing Tips for the Recipe
Store fully hardened cookies in an airtight container at room temperature. Place a sheet of parchment between layers to keep icing surfaces from touching. For longer storage, keep the container in a cool, dry spot away from direct sunlight. The icing will stay crisp for up to two weeks. If humidity is high, consider adding a desiccant packet to maintain texture.
Conclusion
This sugar cookie icing recipe is a reliable way to achieve a glossy, hard‑set finish that lasts. By following the simple steps and respecting the timing, you can decorate dozens of cookies with confidence. Experiment with colors, flavors, and shapes to make each batch uniquely yours. Try it today and share your creations—your friends will notice the professional look and delicious taste. Remember, great sugar cookie icing starts with precise measurements and patience for the set time.

Sugar Cookie Icing
Ingredients
Method
- In a large mixing bowl, whisk together the powdered sugar, 5 tablespoons of milk, light corn syrup, and vanilla extract until smooth. The mixture should be thick.
- To adjust the consistency, add an additional teaspoon of milk at a time until you achieve an outline consistency; it should ribbon off a whisk or spoon in about 3-4 seconds.
- If needed, mix in food coloring until desired hue is reached and save 1/3 of the mixture for outline icing.
- To make the flood icing, add more milk (1/2 to 1 teaspoon at a time) to the remaining icing until it flows easily off the whisk.
- Use piping bags to pipe outline and flood icing on cookies. Fill in gaps with a toothpick if necessary.
- Let the decorated cookies harden fully in a single layer for 20-24 hours before stacking them.
Notes
Frequently Asked Questions
Can I use this icing on other baked goods?
Yes, the same formula works well on cupcakes, pretzels, and even small cake slices. Just adjust the amount of milk to achieve the right consistency for each surface.
How long does the icing stay glossy?
When fully hardened, the icing remains glossy for up to two weeks if stored in a dry environment.
What if my icing cracks while drying?
Cracks often indicate the icing was too thin; add a little more powdered sugar and let it set again.
Is this icing suitable for vegan diets?
Swap the milk for a plant‑based alternative and use a vegan‑friendly corn syrup; the texture and hardening properties remain consistent.
How can I adapt this recipe for a celebration cake?
For larger surfaces like a cake, increase the recipe proportionally and use the same hardening technique. See this guide on how to make your own celebration cake for additional tips.